
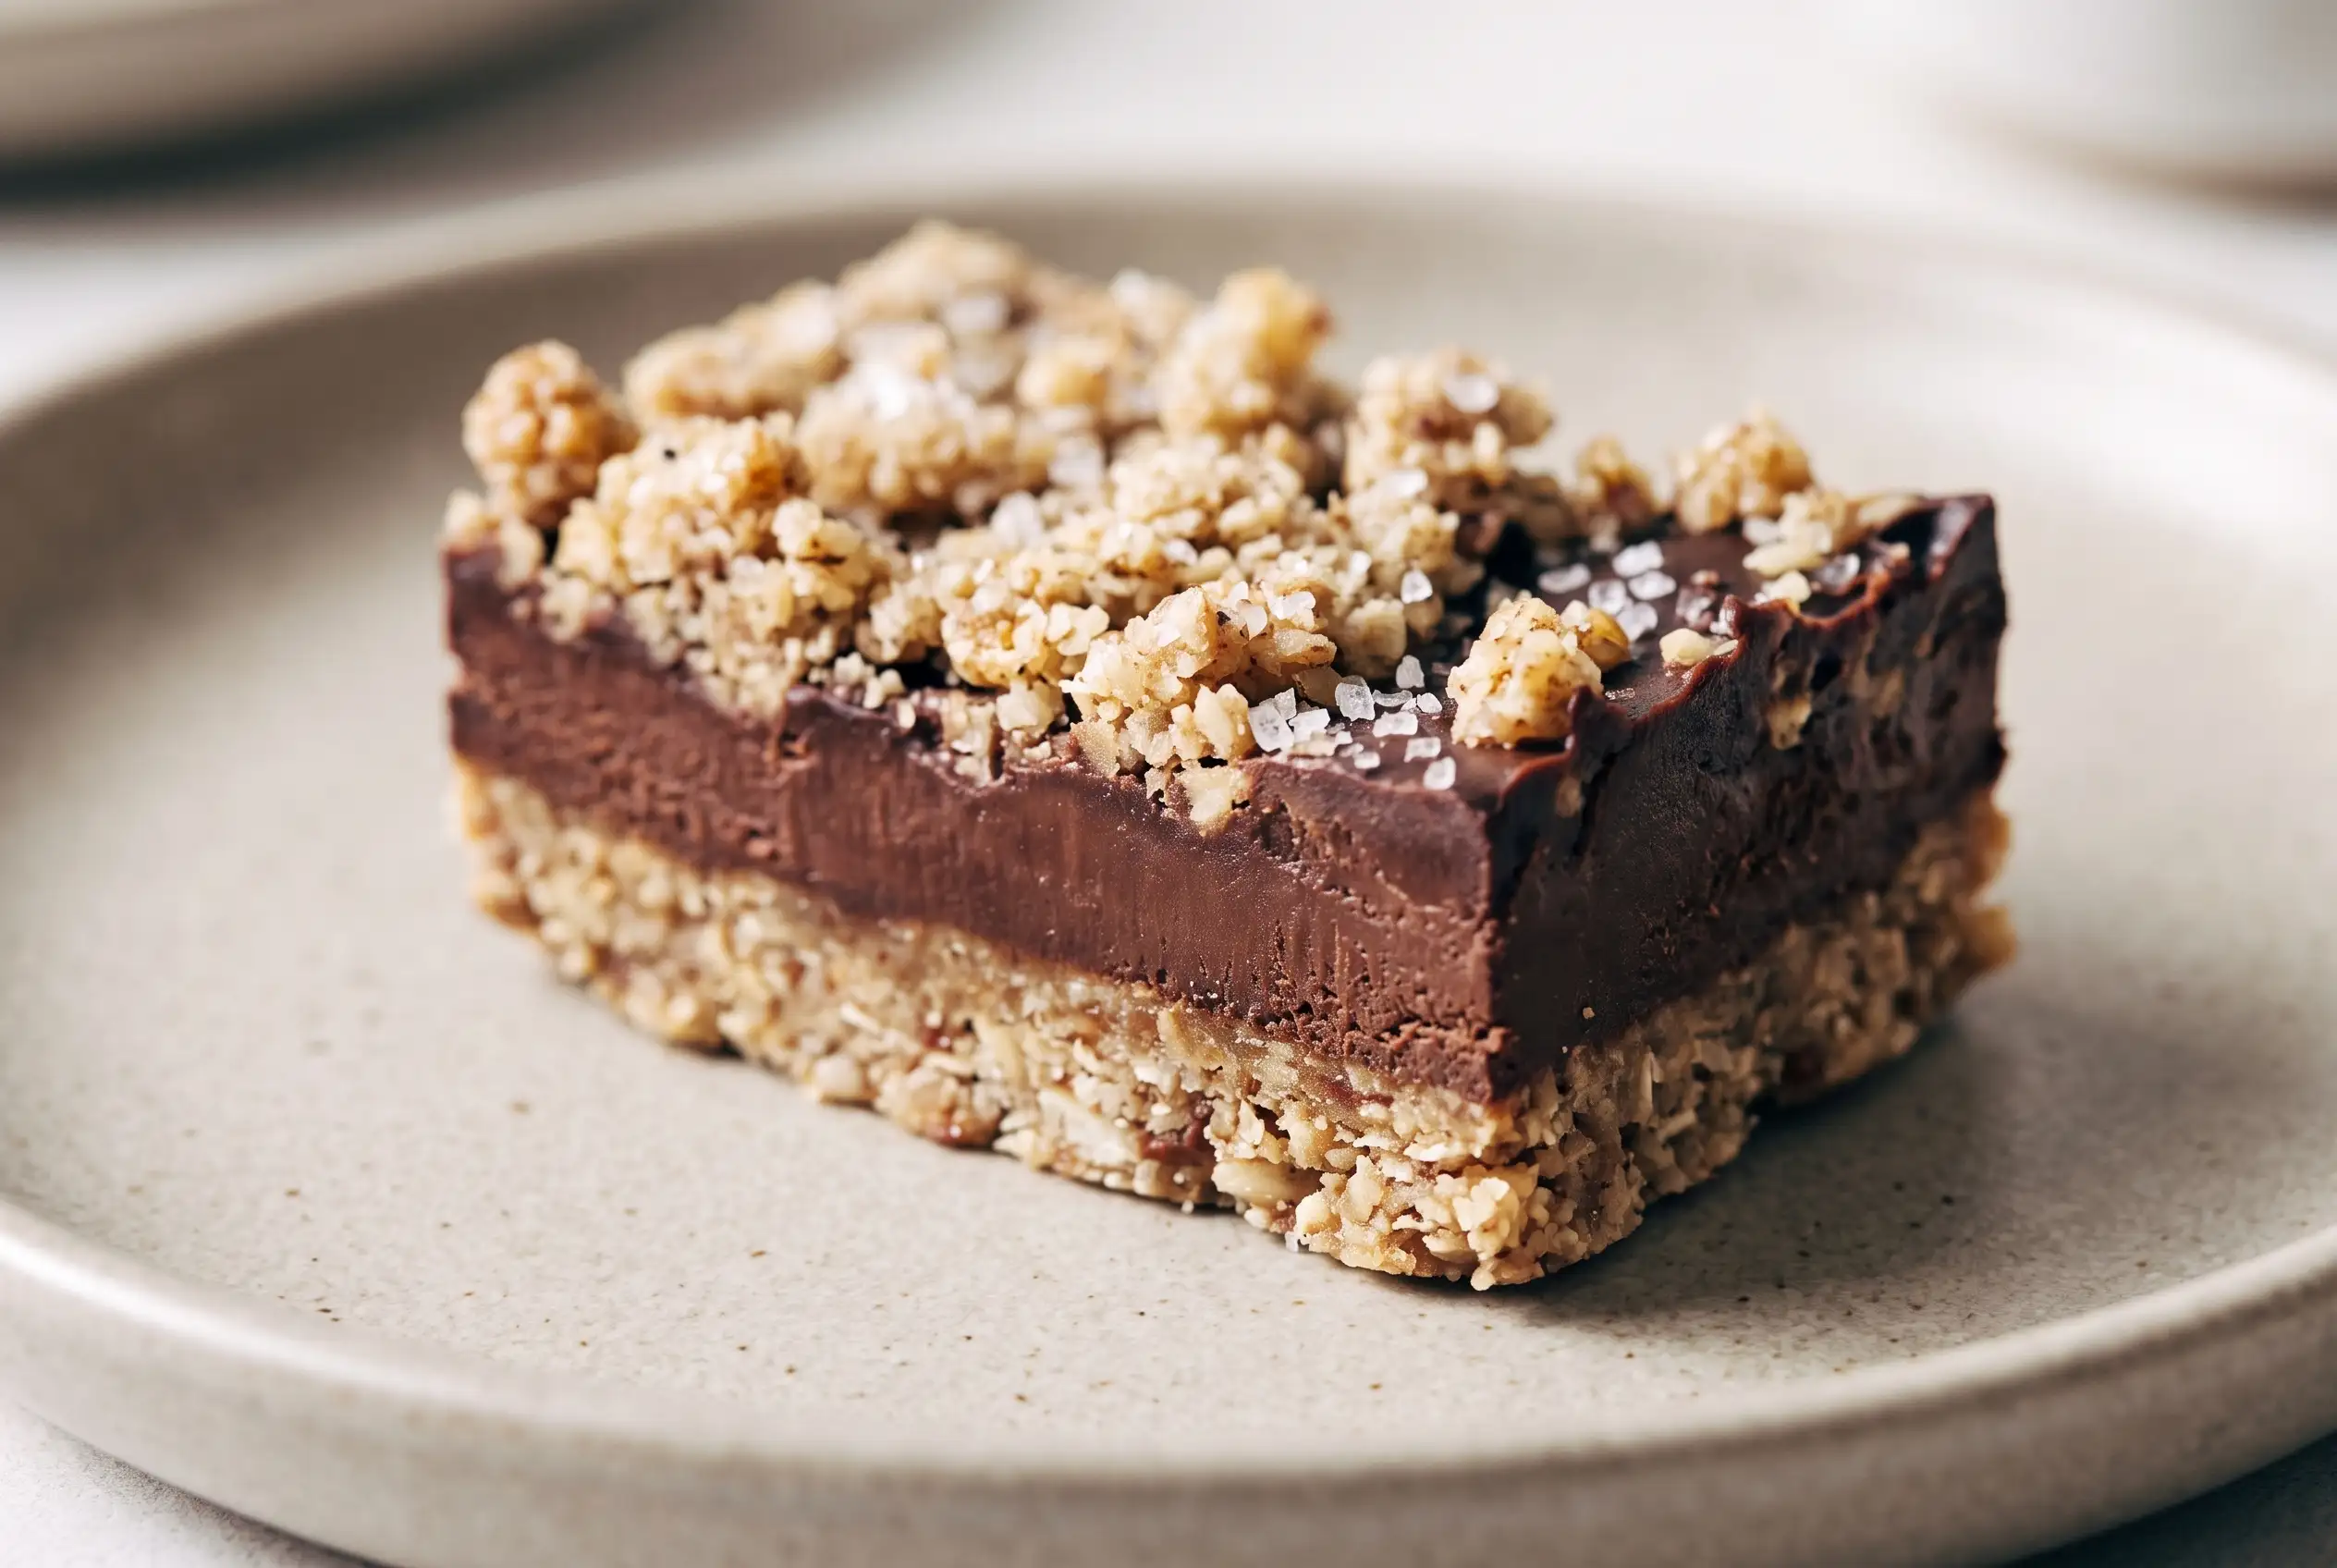
Chocolate snack bars built from pecans, oats, dates, cocoa, and coconut oil offer a simple way to create a rich dessert-style bite without baking. Raw salted chocolate snack bars combine a chewy crust with a smooth chocolate layer, creating contrast through texture, sweetness, and a touch of sea salt. The preparation centers on blending, pressing, chilling, and slicing, allowing the natural character of each ingredient to remain noticeable.
Pecan Oat Crust Creates the Right Bar Structure
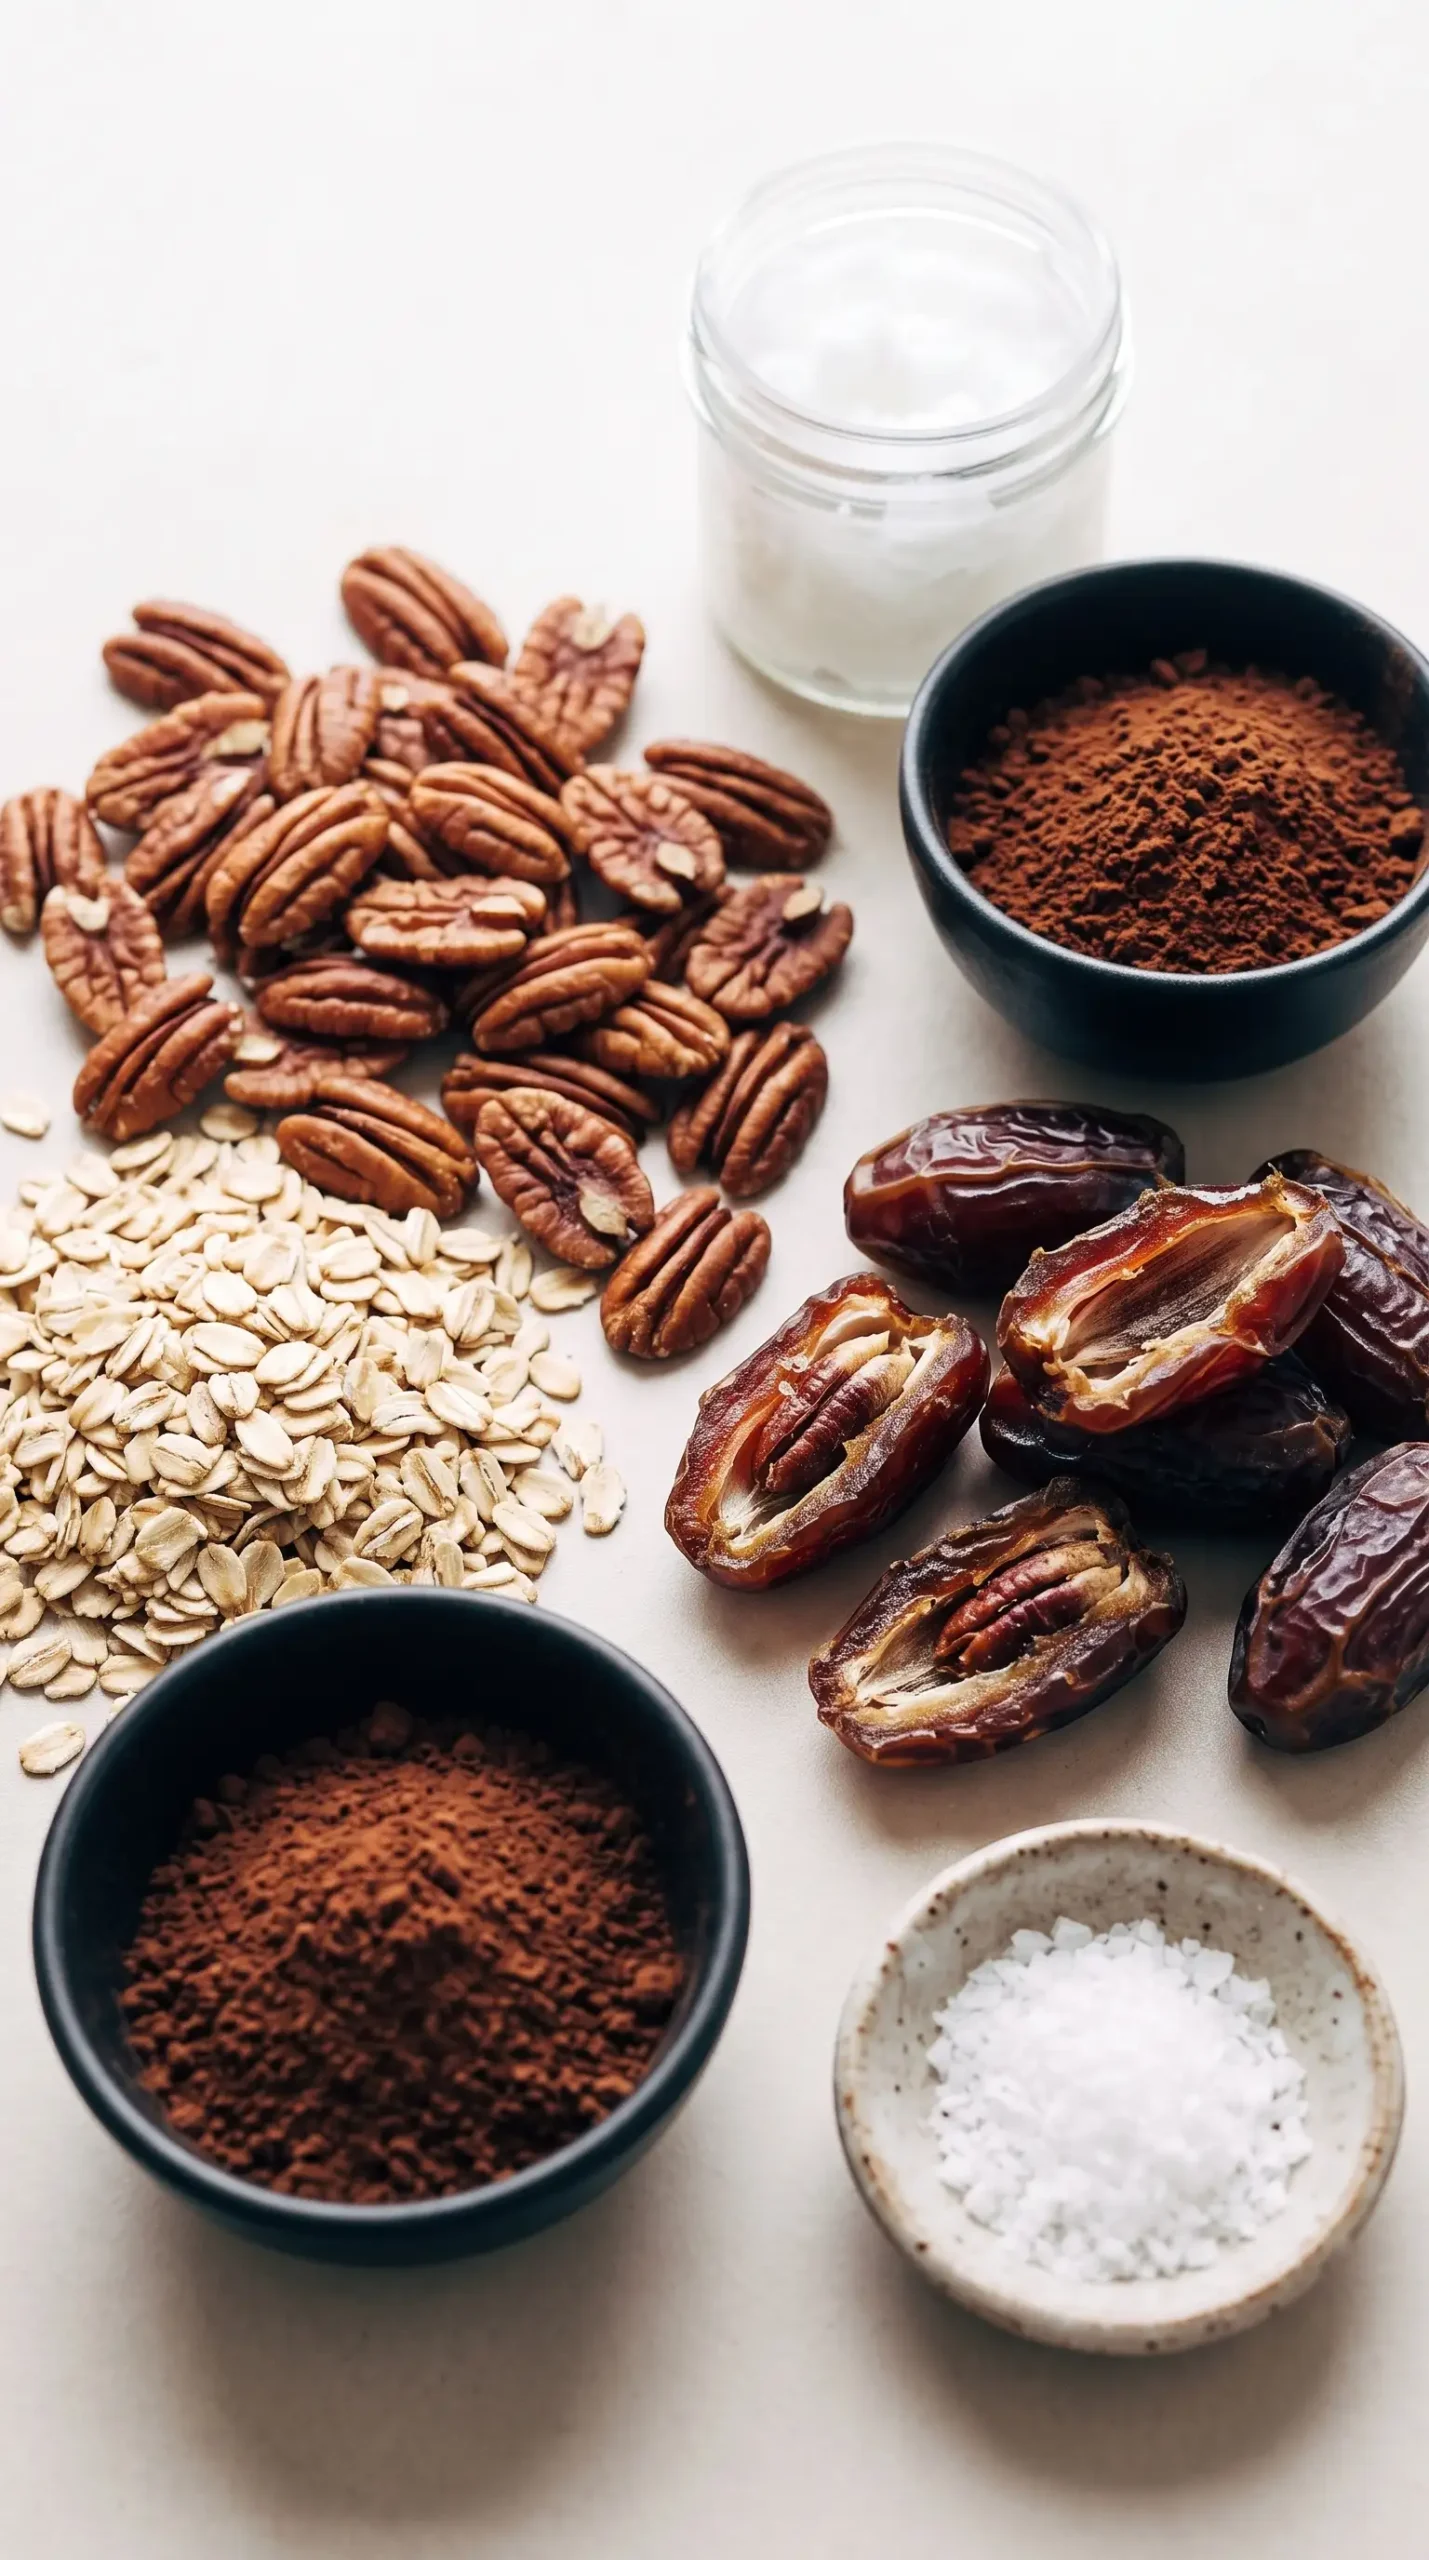
Pecan halves and rolled oats form the foundation that gives these bars their satisfying bite. Once processed with dates and coconut oil, the mixture changes into a sticky dough that can hold together when pressed into the pan. Readers looking for more ways to use a structured oat crust can explore oat-based dessert bars with layered textures and a chocolate finish. Reserving part of the crust mixture creates a topping layer that adds texture after the chocolate filling is added.
Dates and Cocoa Shape the Chocolate Layer
Medjool dates bring natural sweetness and a soft texture that helps bind the crust ingredients together. Their caramel-like flavor works well alongside pecans and cocoa because the finished bars need a balanced base that can support a rich chocolate center.
Cocoa powder creates the deep chocolate character in the filling, while melted coconut oil helps the mixture become smooth enough to spread over the crust. The combination creates a firm chilled layer that stays distinct from the oat and nut mixture after freezing.
Liquid sweetener choices can slightly change the personality of raw chocolate bars with dates. Maple syrup, agave, or honey can each provide sweetness while blending into the cocoa mixture. Adjusting the amount allows the chocolate layer to match personal preferences without changing the basic structure.
Food Processor Control Improves Bar Texture
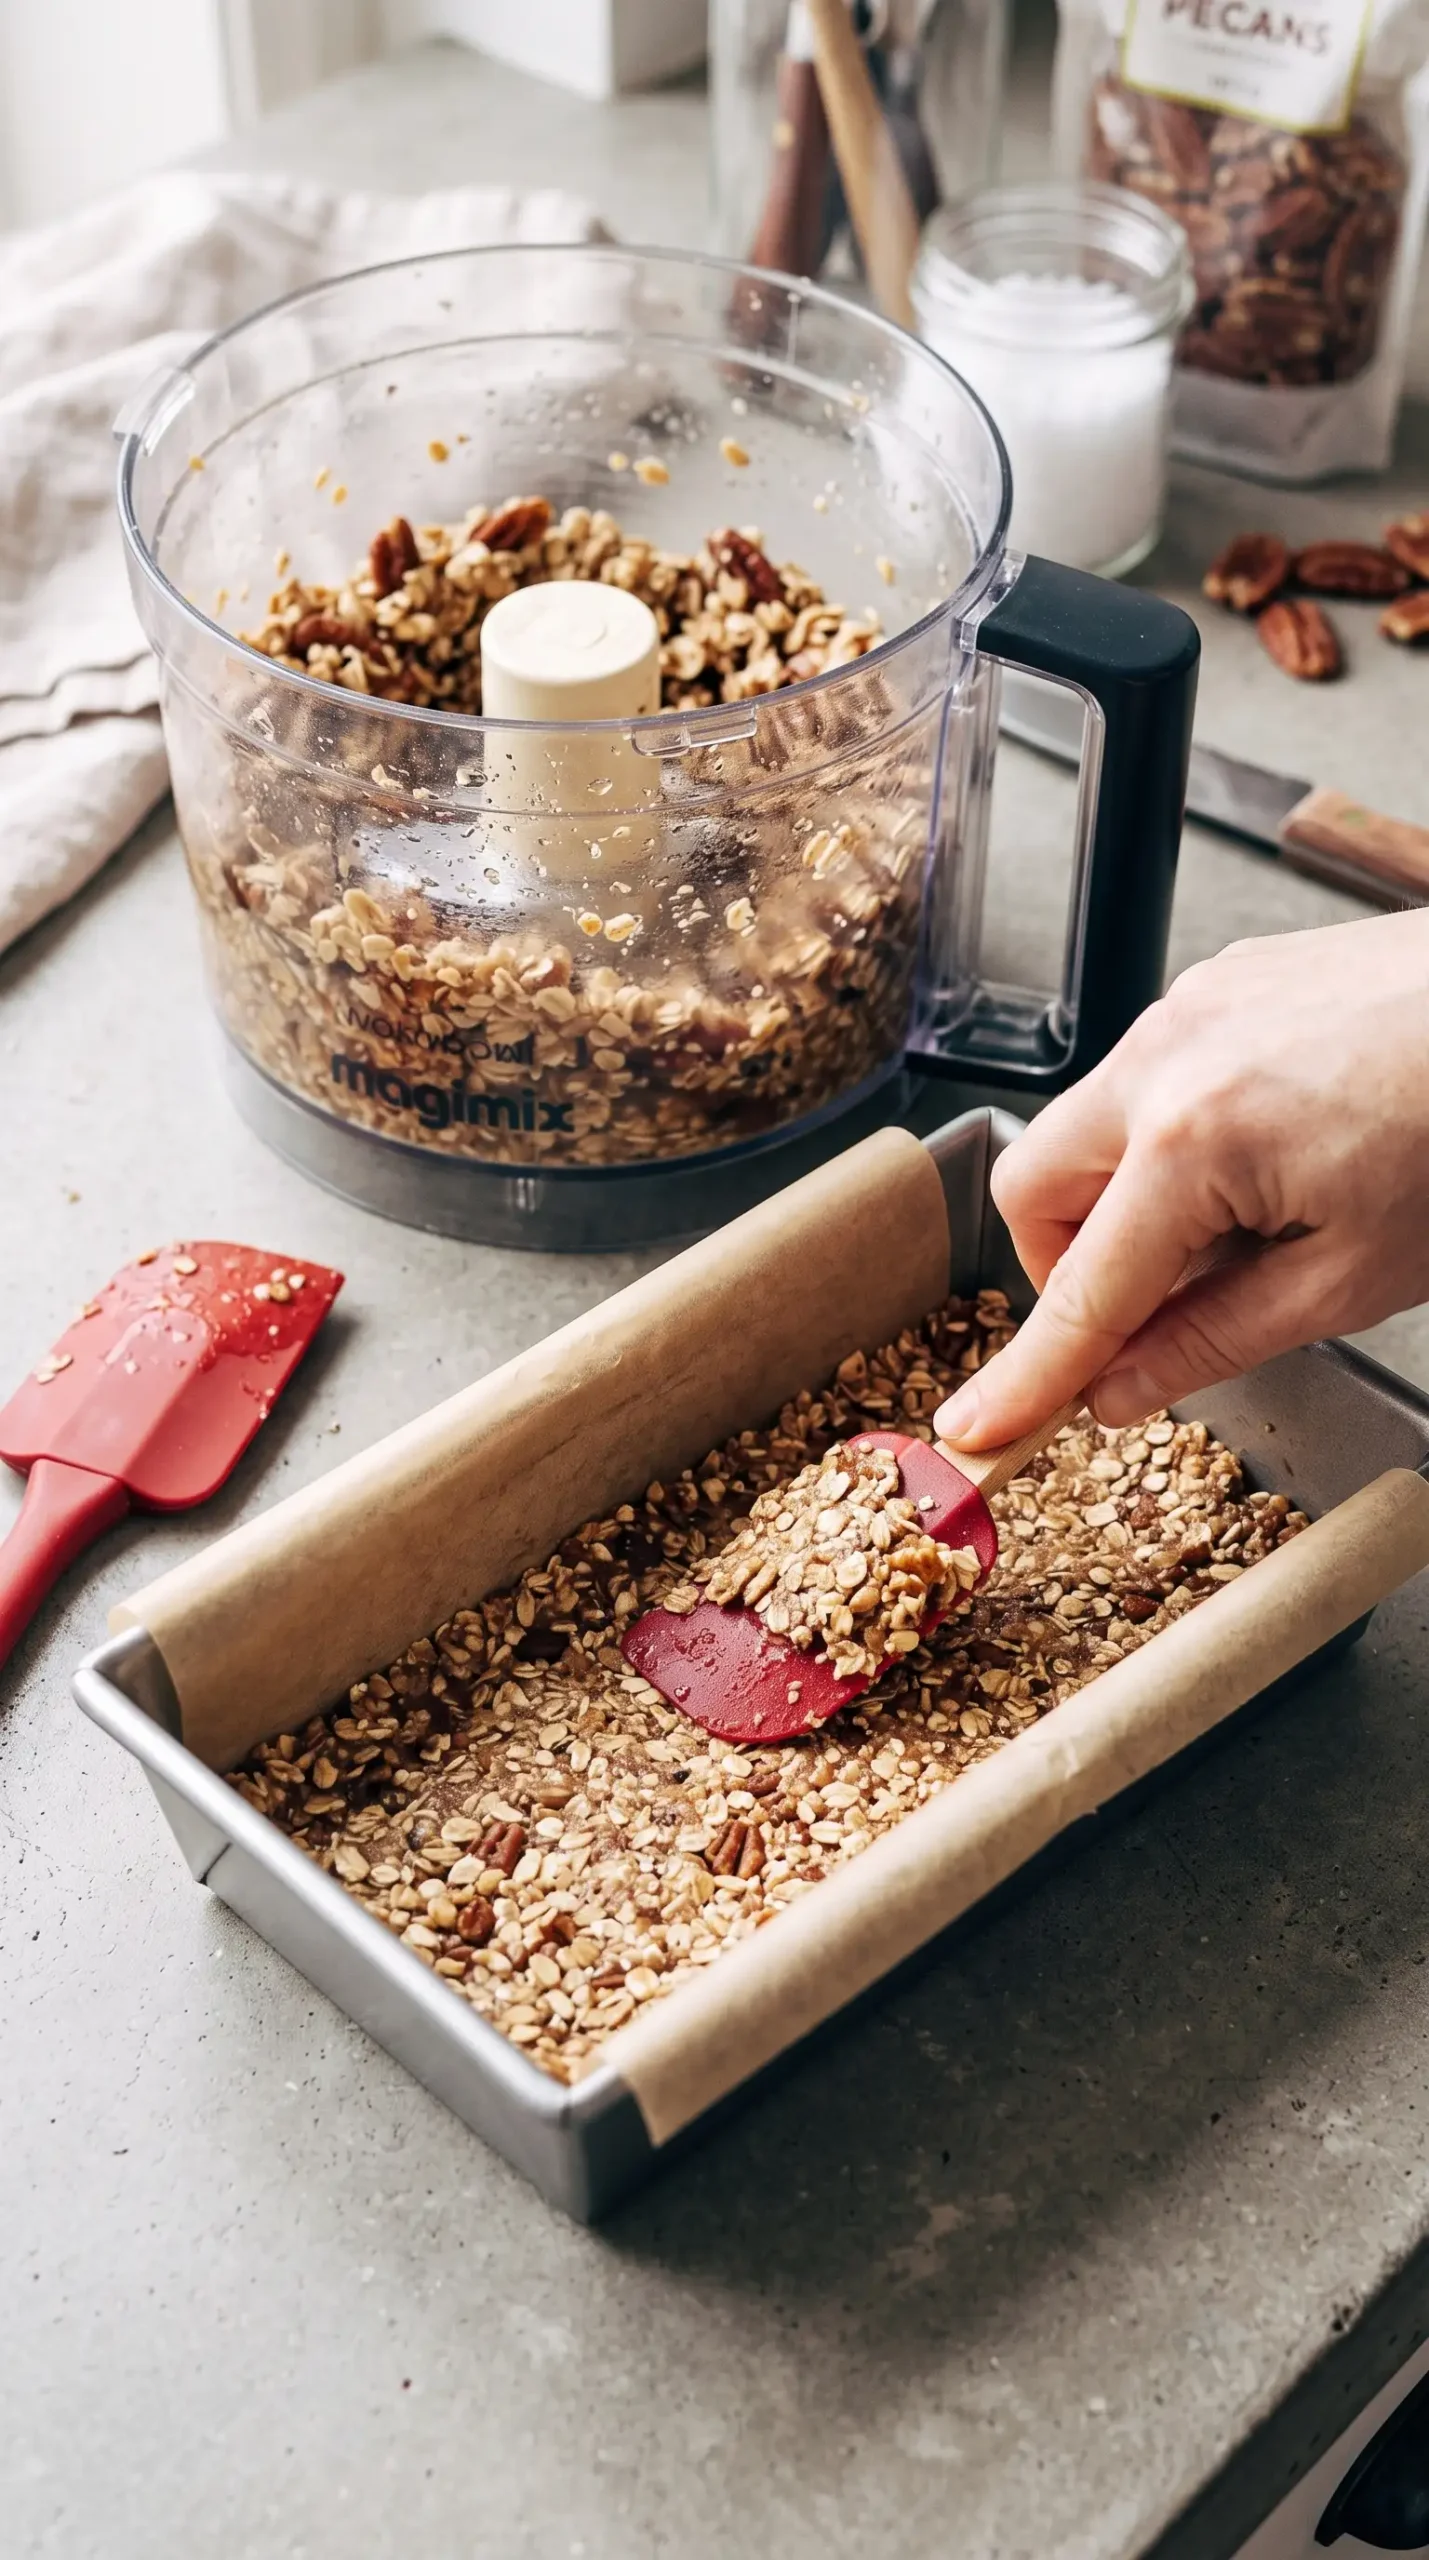
Processing speed affects how evenly the crust ingredients combine. The mixture should become sticky enough to press together, while still keeping some texture from the pecans and oats. Watching the consistency during blending helps prevent a crust that is difficult to shape.
Pressing the crust firmly into a parchment-lined loaf pan creates an even base for the chocolate layer. Gentle, steady pressure helps the bars slice cleanly later because loose areas in the crust can separate after chilling.
Whisking the chocolate filling until smooth is an important control point before it reaches the crust. A uniform mixture spreads more easily and creates a consistent layer that pairs with the remaining crumb topping.
Mistakes That Affect Raw Salted Chocolate Snack Bars
Crust mixture problems usually come from stopping the food processor too early. A dry mixture may not hold together when pressed, so checking for a sticky dough texture before shaping is the key adjustment. If needed, continued processing helps the ingredients combine more fully.
Uneven chocolate filling can create a rough surface or inconsistent slices. Mixing until the cocoa, coconut oil, and sweetener are fully combined keeps the center smooth before chilling.
Freezer Texture Determines Clean Slices
Frozen bars develop their firm texture during chilling, which makes cutting easier once the layers have set. Allowing the mixture to become solid gives the crust and chocolate filling enough structure to separate into individual portions.
Sea Salt Details Define the Sweet-Savory Balance
Sea salt brings a finishing contrast that highlights the chocolate flavor without requiring additional decoration. A light sprinkle on top works with the sweetness from the dates and liquid sweetener, creating the signature salted chocolate oat bars experience.
Serving Choices Highlight Raw Chocolate Bars With Dates
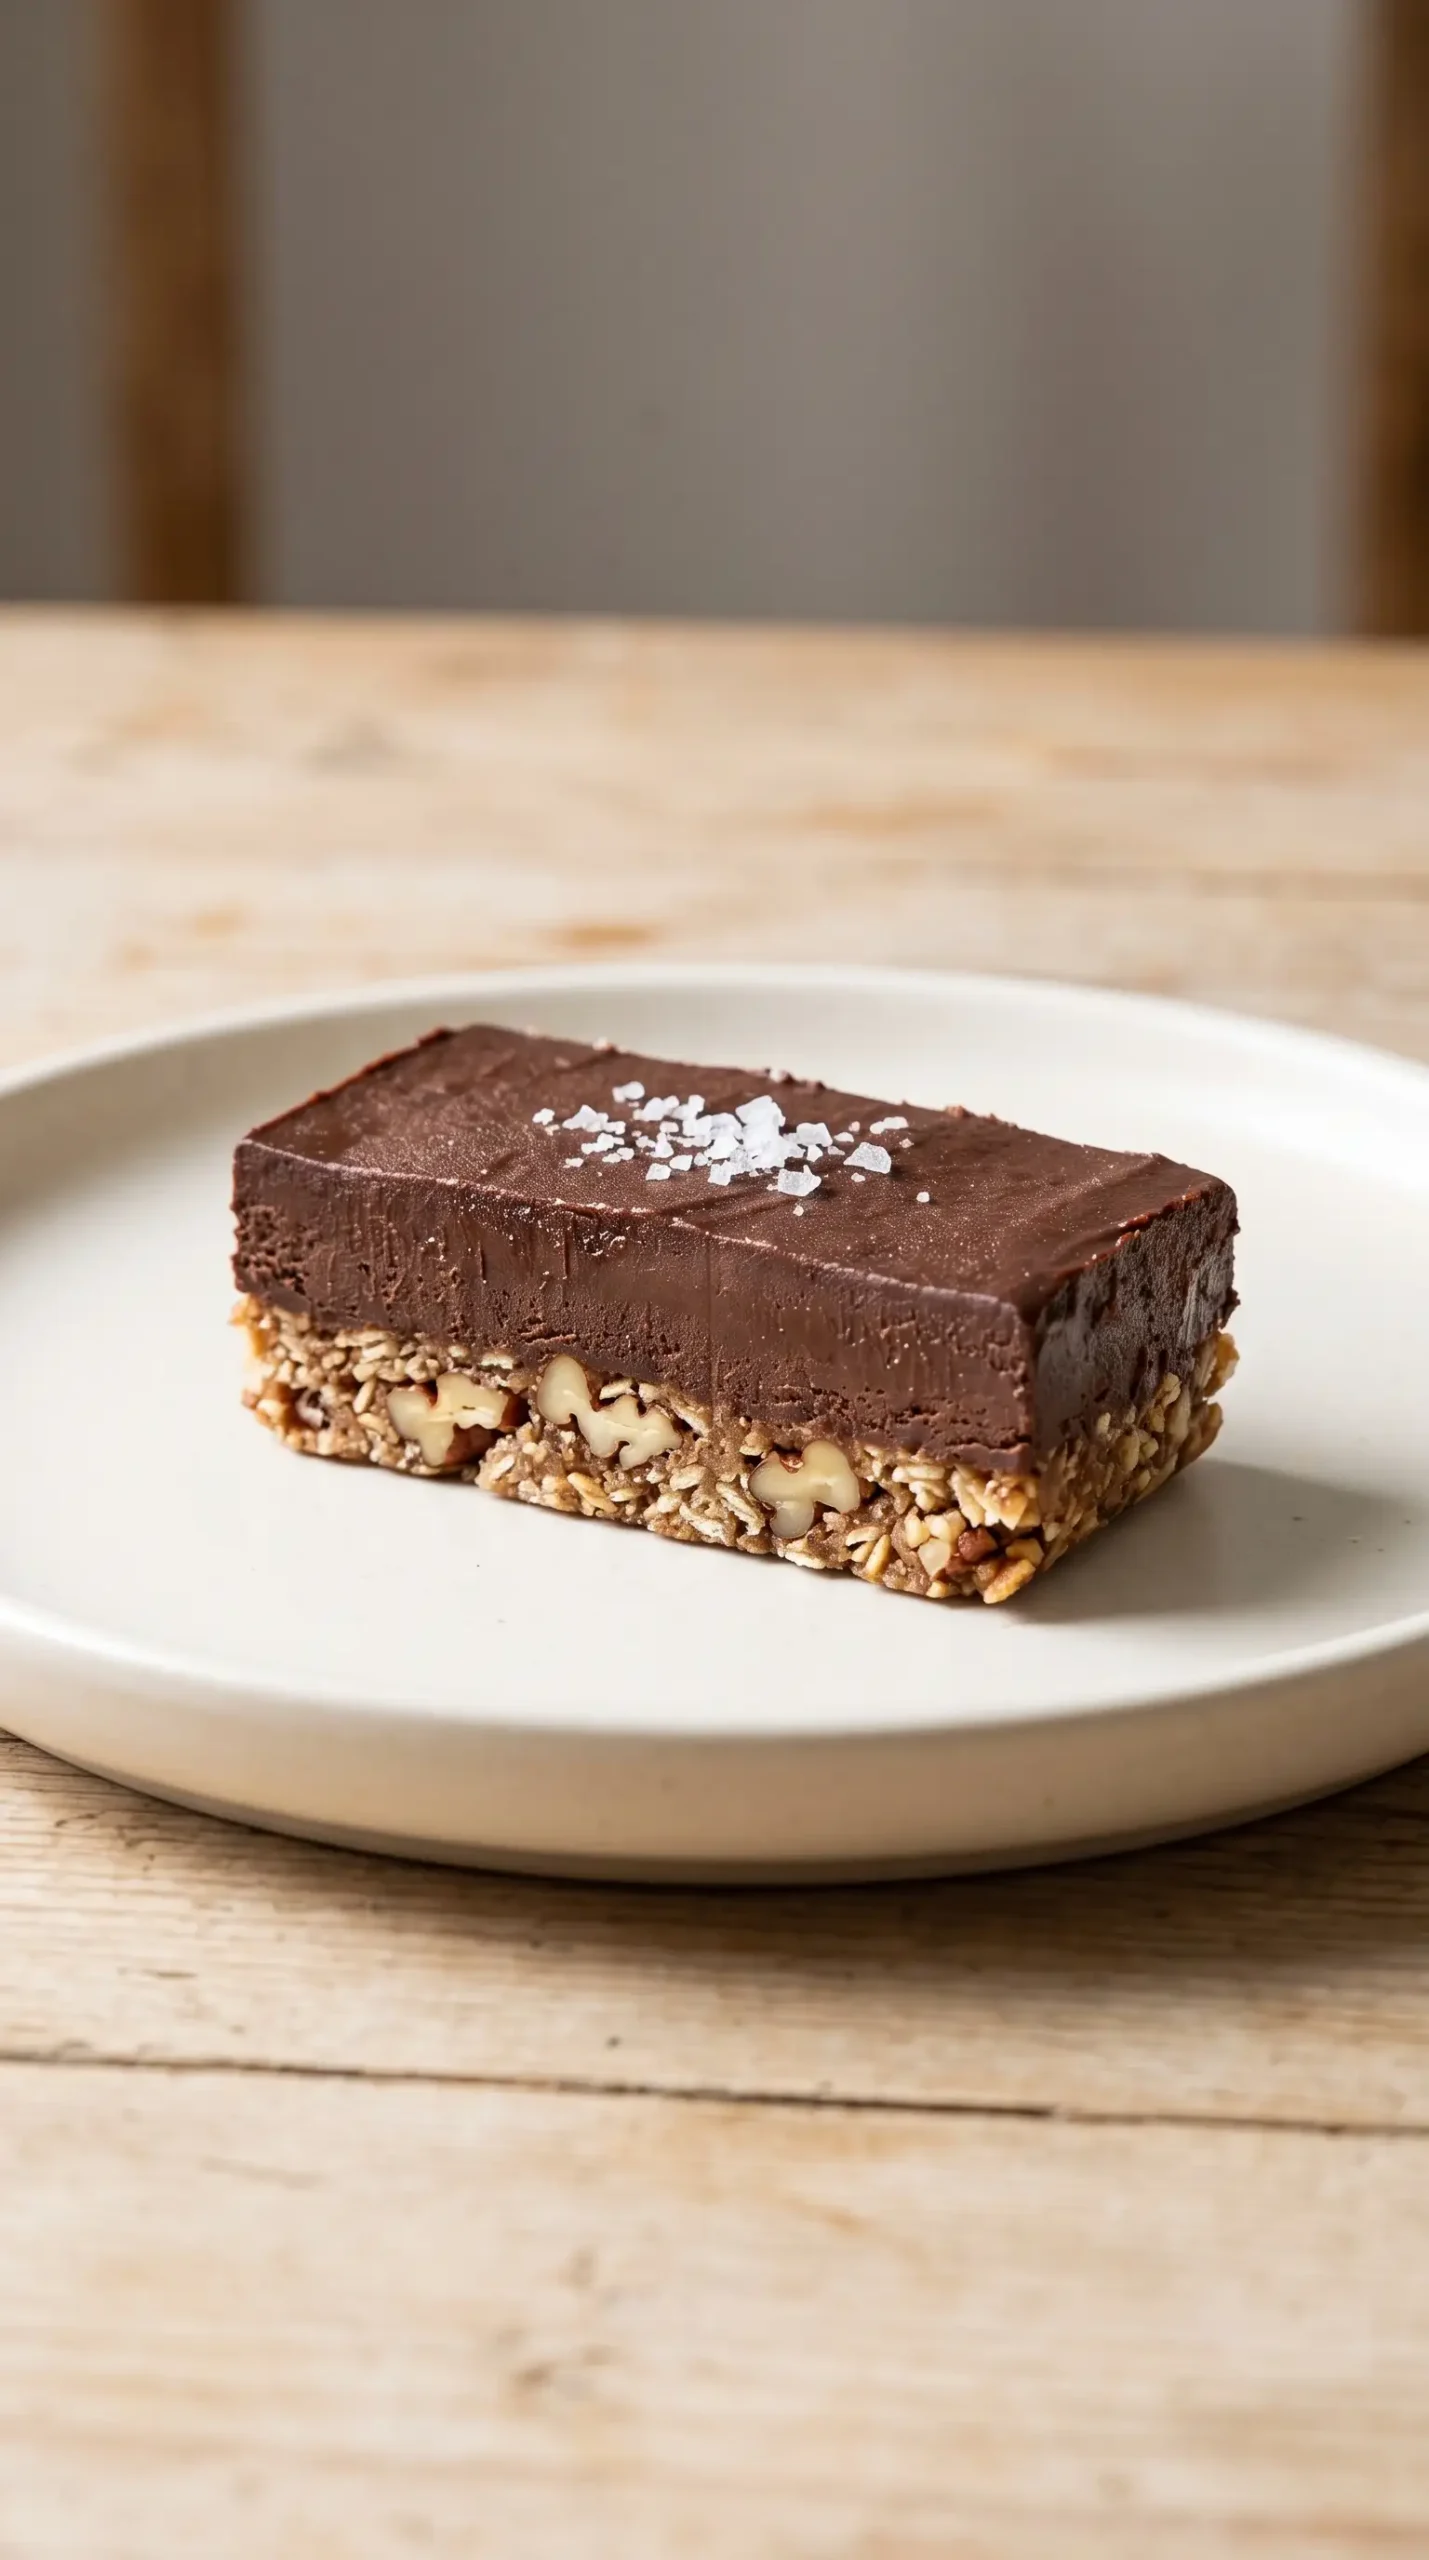
Serving portions can be adjusted depending on whether the bars are enjoyed as a small treat, a dessert bite, or a snack. Keeping pieces chilled until serving helps maintain the contrast between the firm chocolate layer and the textured crust.
Storage Decisions Preserve Chocolate Snack Bar Quality
Covered pieces remain protected from drying out and can be kept chilled until they are ready to enjoy. The combination of oats, nuts, dates, and coconut oil makes proper storage important for maintaining the intended texture.
Frozen slices offer a convenient option when preparing these bars ahead. The firm texture created by freezing allows the pieces to be separated and served when needed.
| Storage option | Texture result | Best use |
|---|---|---|
| Chilled pieces | Firm with a softer bite | Serving after preparation |
| Frozen pieces | More solid and sliceable | Keeping bars ready ahead of time |
| Covered container | Helps protect the surface | Short-term holding between servings |
Storage choices also influence when the bars are easiest to cut. A fully chilled block provides cleaner edges, while slightly softened pieces offer a more tender texture.
Simple Variations Keep Chocolate Snack Bars Flexible
Small adjustments can change the presentation while keeping the core idea intact. Extra sea salt, different liquid sweetener preferences, or additional toppings can personalize the bars without replacing the main structure of pecans, oats, dates, and cocoa.
Raw Salted Chocolate Snack Bars Depend on Balanced Layers
Bars made with a sticky pecan oat crust and smooth cocoa filling succeed because each layer serves a specific purpose. The crust provides structure, while the chocolate center creates the rich flavor that defines the finished treat.
Careful attention to texture during blending and pressing determines how enjoyable each slice becomes. The most important choices happen before chilling: creating a cohesive crust, smoothing the filling, and adding enough salt to complement the sweetness.
Chocolate Snack Bars Storage Questions and Answers
Can raw salted chocolate snack bars be made ahead?
Yes, the bars can be prepared in advance and kept chilled or frozen until serving. Making them ahead is especially useful when a firm texture and clean slices are preferred.
Why do my chocolate snack bars fall apart?
No, loose slices do not always mean the ingredients are incorrect. The crust needs enough processing time to become sticky and enough pressure during shaping to hold together after chilling.
How can the sweetness be adjusted?
Home cooks can change the amount of agave, maple syrup, or honey used in the chocolate filling to create a sweeter or more cocoa-forward flavor. Small adjustments are easiest before the filling is spread over the crust.
What makes these bars different from baked desserts?
Different preparation methods create a distinct texture here because the ingredients are combined and chilled instead of baked. The result highlights the natural flavors of nuts, oats, dates, and cocoa in a compact snack format.
Raw Salted Chocolate Snack Bars with Pecan Oat Crust
Ingredients
Method
- Add the crust ingredients to a food processor and pulse until the mixture forms a sticky dough.
- Reserve about 3/4 cup of the crust mixture. Press the remaining mixture firmly into a 9×5 loaf pan lined with parchment paper.
- Whisk the chocolate filling ingredients together in a small mixing bowl until the mixture is smooth.
- Pour the chocolate filling over the prepared crust.
- Sprinkle the reserved crust mixture over the chocolate layer and gently press it into place.
- Add extra sea salt on top if desired.
- Place the pan in the freezer and chill for 2 hours.
- Cut into bars and serve.