
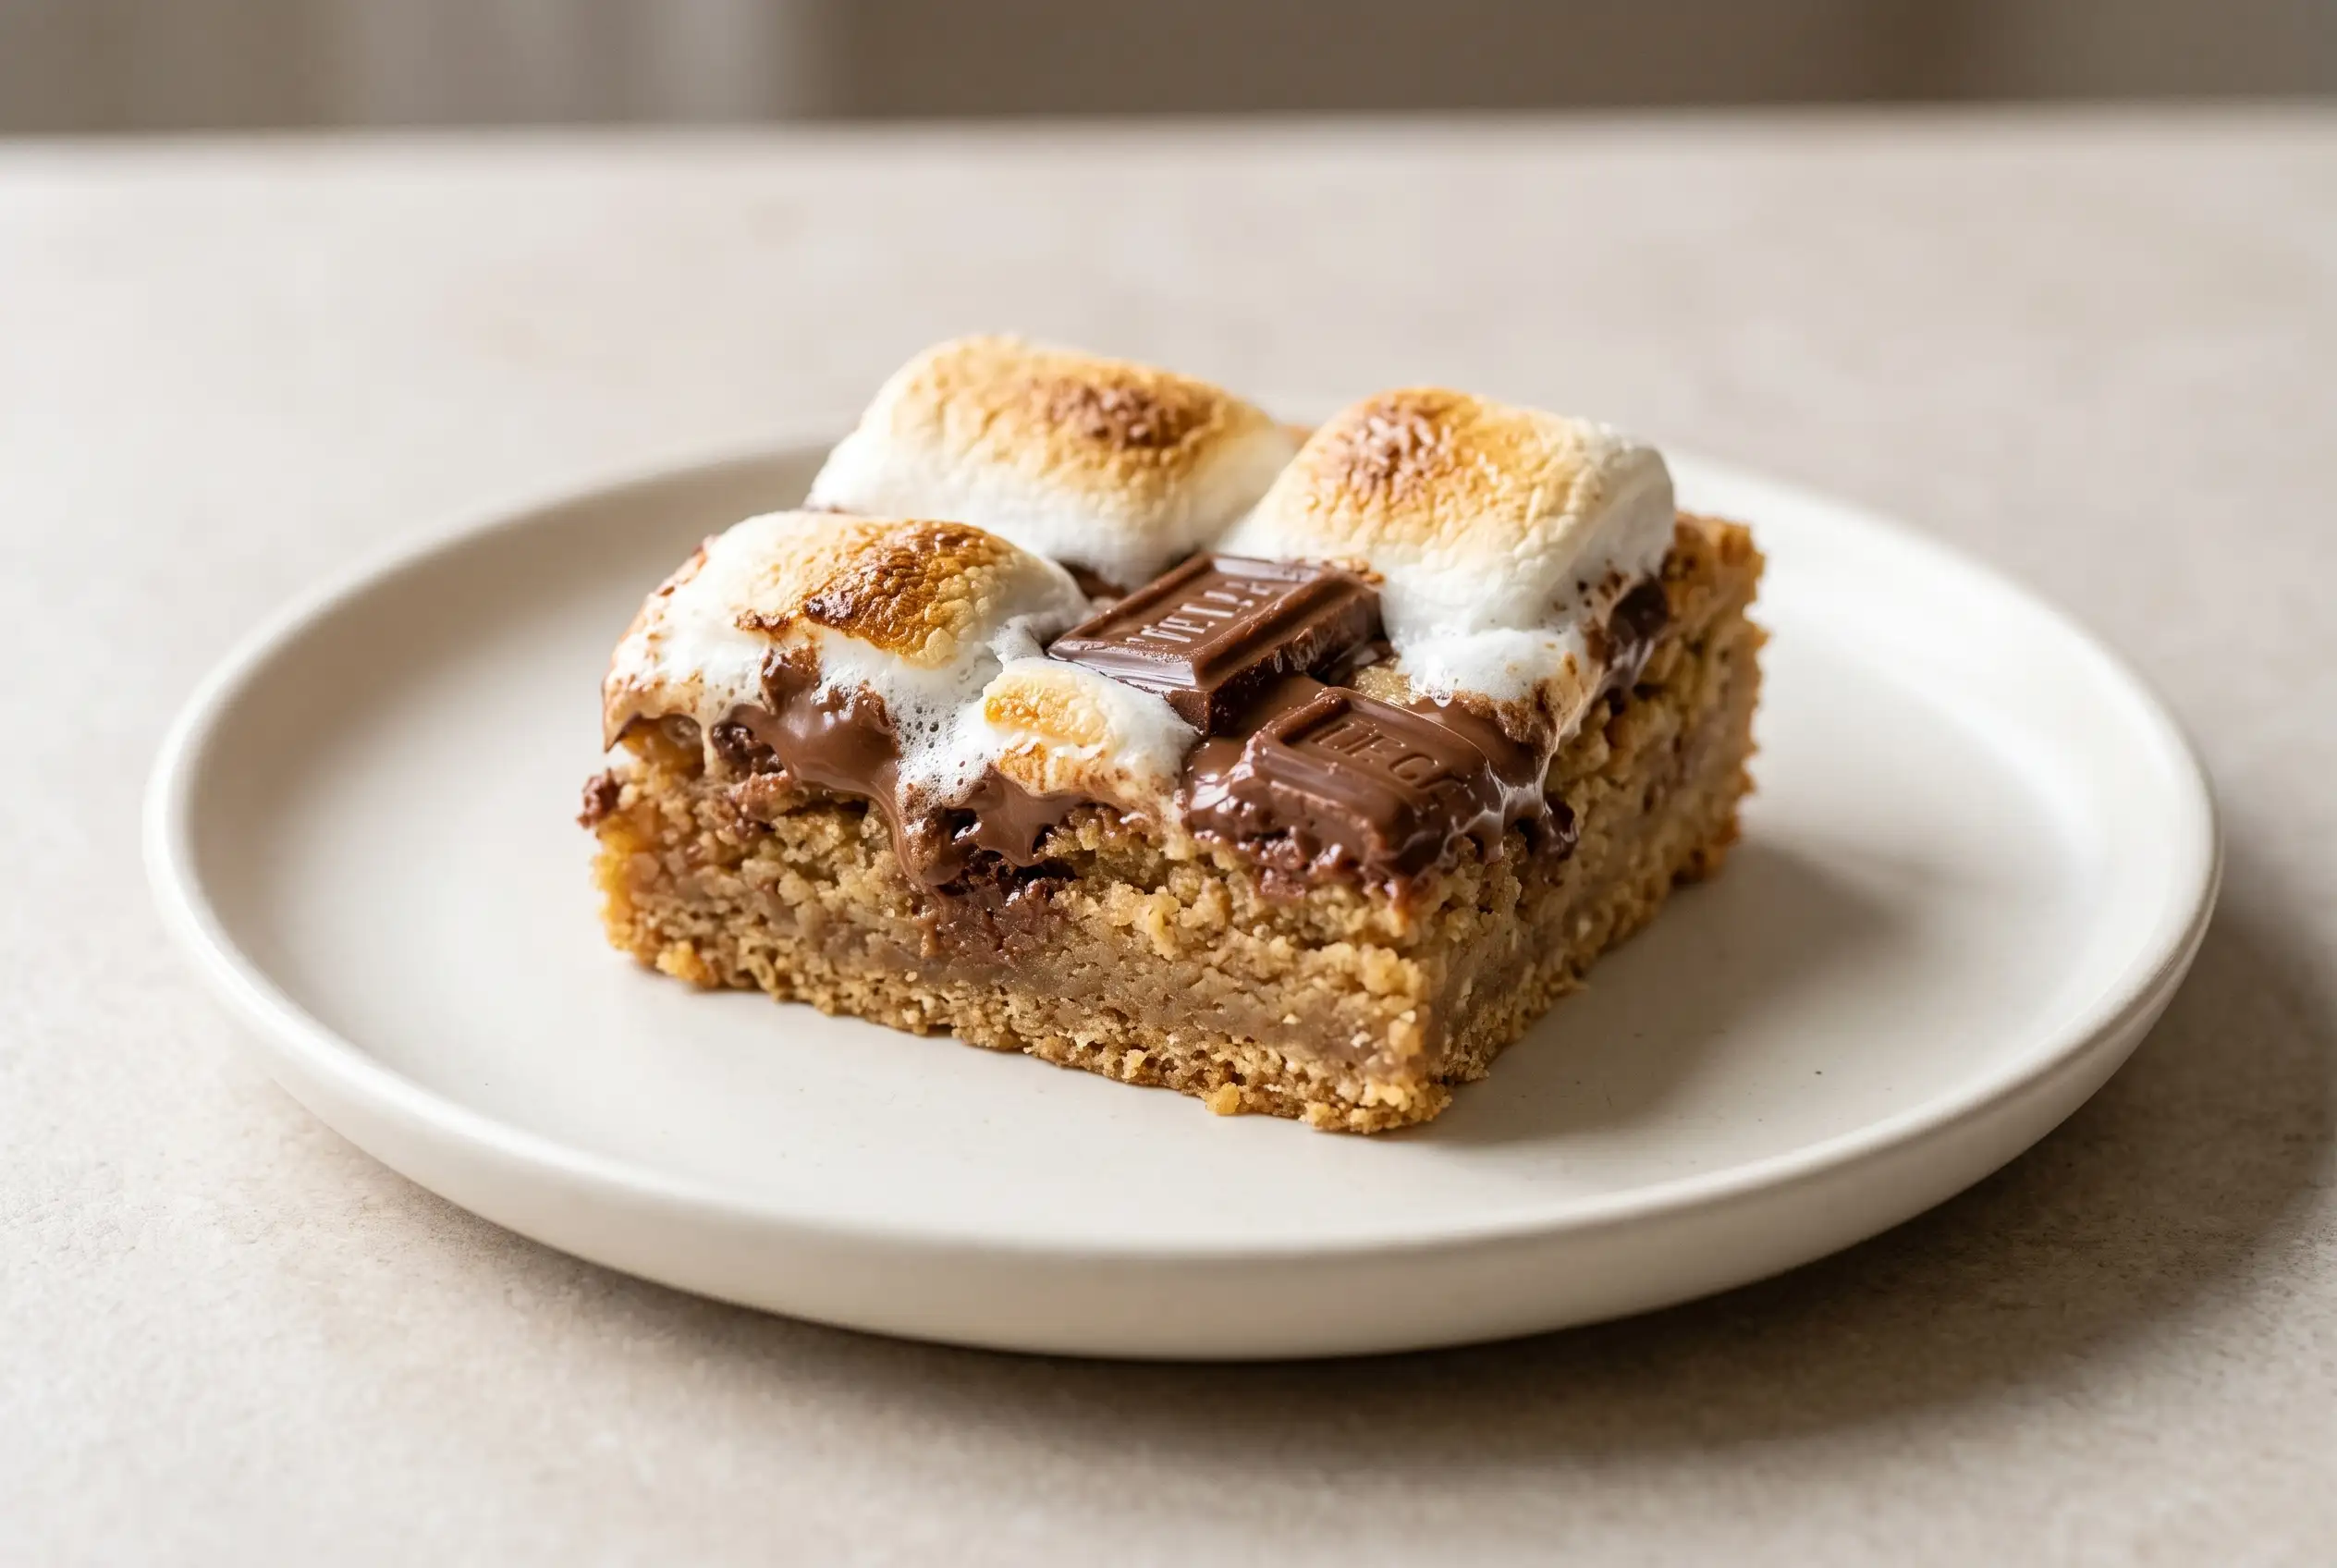
Chocolate graham bars bring together an oat-based baked bar, chocolate pieces, and toasted marshmallows for a dessert that sits between a graham cracker treat and a soft blondie. The combination of flours, oats, cinnamon, and brown sugar creates a sturdy base that can support a sweet topping while keeping a tender center.
Simple construction gives chocolate marshmallow graham bars their appeal. The dough is pressed into a pan, baked until set, chilled until it firms, and finished with chocolate and marshmallows under the broiler. Each stage changes the texture, making the timing choices important.
Balanced layers depend on restraint during preparation. A slightly sticky center is part of the character of these bars, while overbaking can move the texture away from the soft graham-style bite that makes them distinctive. The finished dessert works because the base, chocolate, and marshmallow topping remain clearly defined.
Oat Flour and Chilled Butter Shape Graham Bar Texture
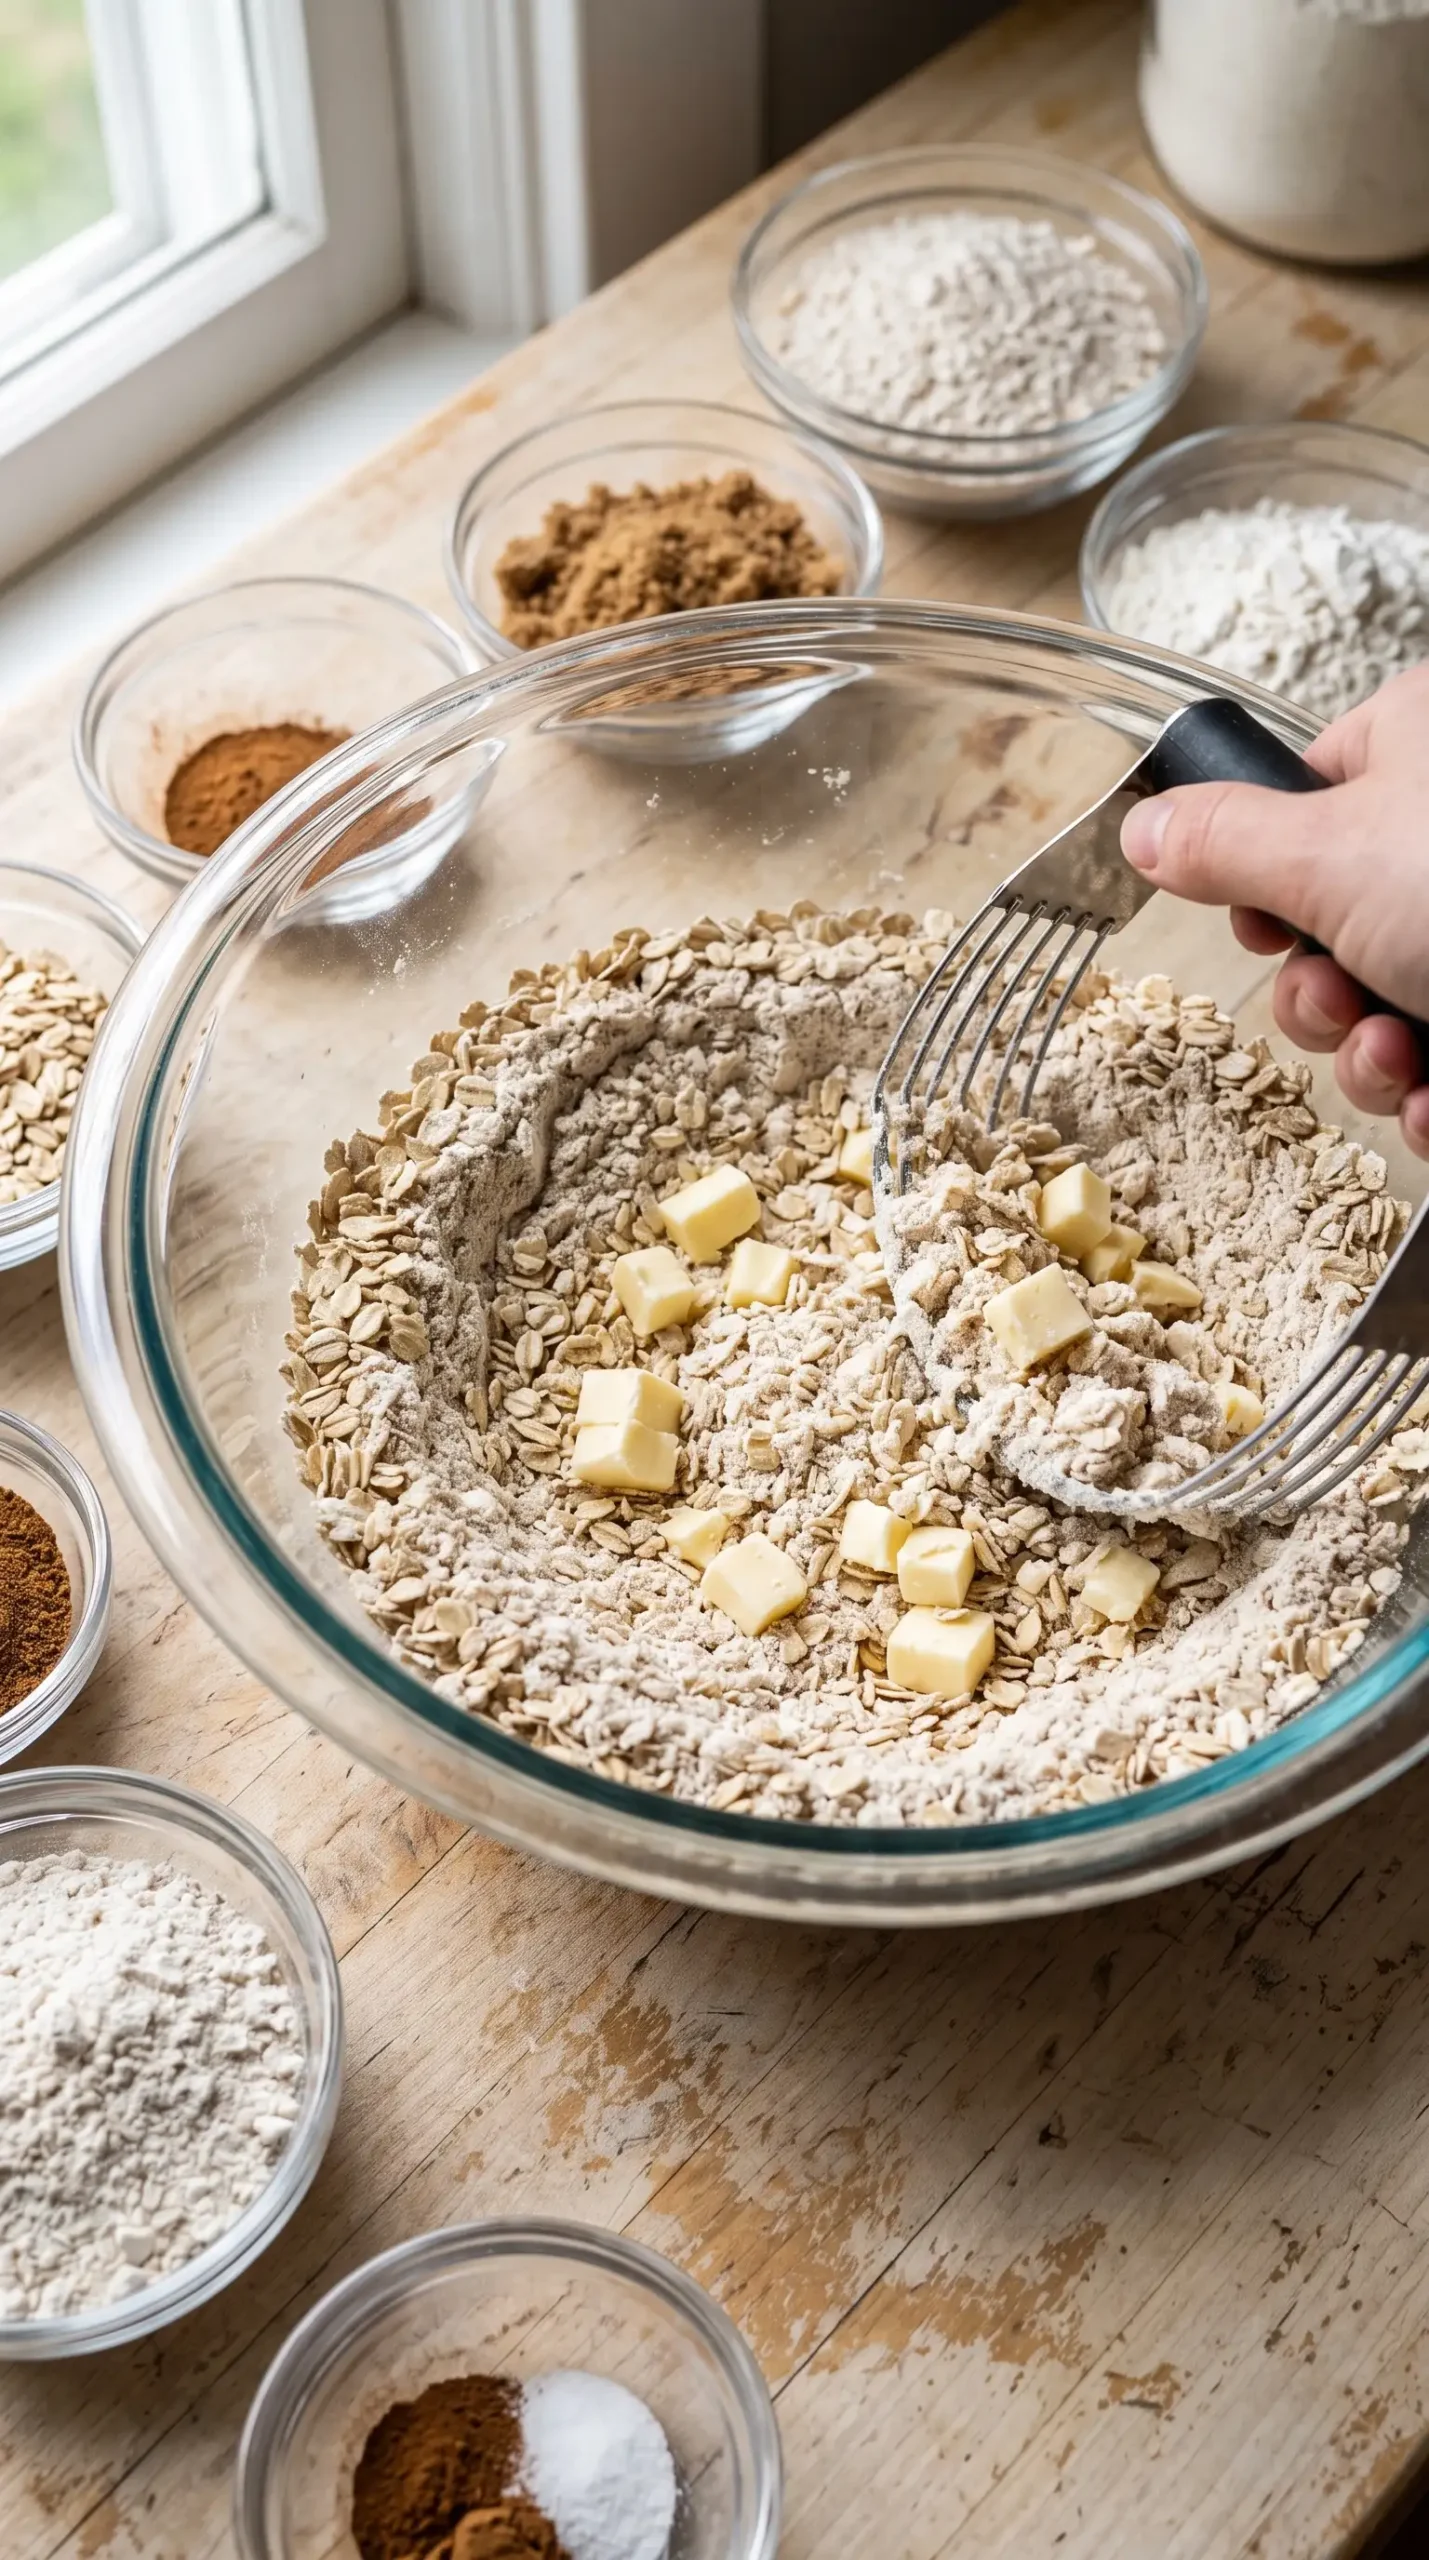
Oat preparation affects the structure of the bars because the rolled oats are pulsed into a powder before joining the other dry ingredients. This creates a finer texture that blends with the all-purpose flour and bread flour instead of leaving large oat pieces throughout the dough. Recipes such as chocolate oatmeal bars show how oats can support a sturdy baked dessert texture while keeping chocolate flavors balanced.
Chilled butter contributes to the coarse meal texture formed before the liquid ingredients are added. Cutting the butter into the flour mixture helps create a base that feels more like a graham-style baked layer than a traditional cake batter.
Careful mixing matters once maple syrup, milk, and vanilla are introduced. The dough becomes very sticky, so flour-coated hands, a wooden spoon, or a similar approach can help press it into the pan without overworking it.
Chocolate Pieces and Marshmallows Create the Finishing Layer
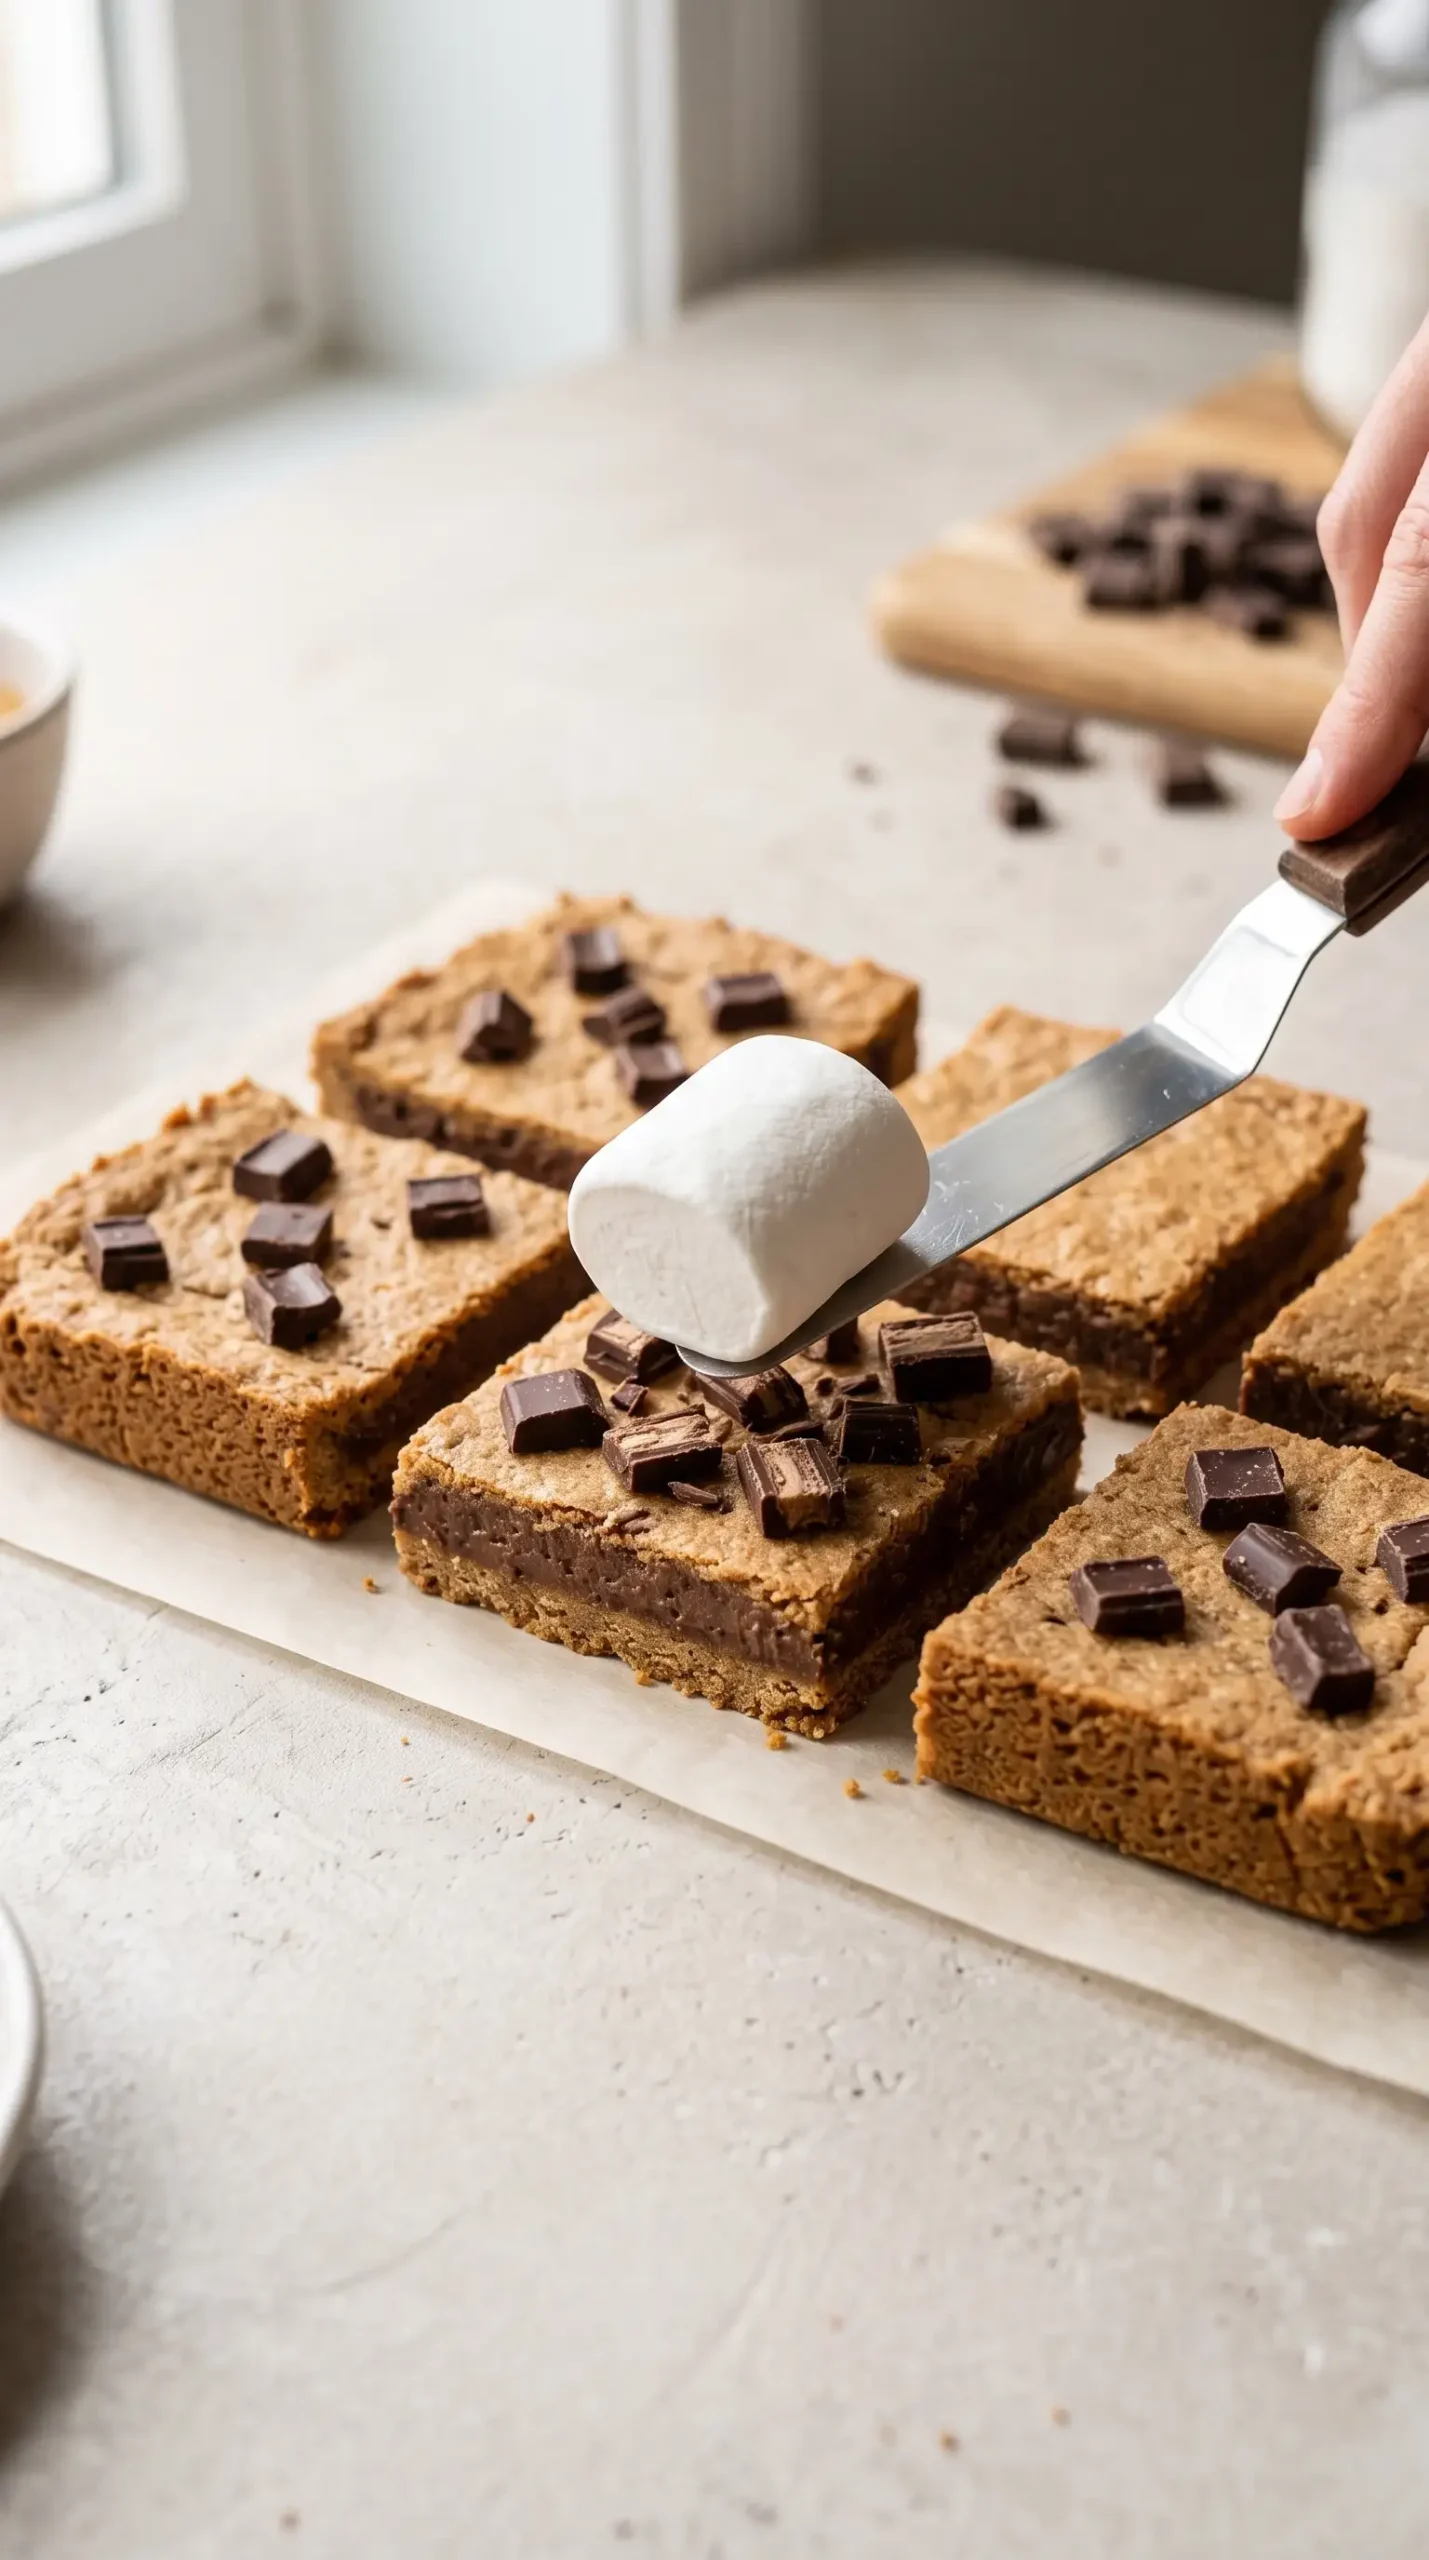
Chocolate pieces and marshmallows turn the baked graham bar base into a layered dessert with a soft, toasted topping. Adding them after chilling allows the bars to hold their shape while the surface receives the broiled finish.
Baking Control Keeps Graham Bars Set Without Drying
Baking temperature and timing influence whether the center stays pleasantly tender. The bars are baked until a toothpick comes out clean, but the middle should still have some softness because bars continue setting as they cool instead of becoming completely dry.
Visible cues provide useful guidance during baking. The edges and surface should be set while the center retains a little moisture, because chilling will continue to improve the texture after the pan leaves the oven.
Gentle handling after baking protects the structure. Allowing the baked layer to cool and firm before adding the topping prevents the chocolate and marshmallows from being pressed into a fragile warm base.
Refrigeration Gives Graham Bars Their Blondie-Like Bite
Refrigeration changes the texture of the bars by allowing the softer center to set. The chilled base becomes easier to cut and provides a firmer surface for adding chocolate pieces and marshmallows before broiling.
Chocolate Marshmallow Graham Bars Avoid These Common Baking Mistakes
Sticky dough can make shaping difficult if it is handled without preparation. Coating hands with flour or using a sturdy spoon helps prevent frustration while still allowing the dough to be pressed evenly across the baking pan.
Overbaking creates a less desirable result because the center can lose the soft texture that develops after chilling. Watching for a clean toothpick while keeping the middle slightly tender helps maintain the intended consistency.
Burned marshmallows are another avoidable issue during the final broiling step. Staying nearby and checking frequently is important because the topping can move from lightly golden to overly dark quickly under high heat.
Graham Bar Choices Compare Flour and Topping Roles
Different parts of the mixture have separate jobs in the finished dessert. The table below highlights how each element affects handling and texture without replacing the recipe instructions.
| Component | Preparation role | Texture effect |
|---|---|---|
| Rolled oats | Pulsed into oat flour | Adds a fine graham-style texture |
| Bread flour | Combined with all-purpose flour | Supports the baked bar structure |
| Chilled butter | Cut into dry mixture | Helps create a coarse, tender base |
| Marshmallows | Added after chilling | Creates a toasted soft topping |
Ingredient placement affects the eating experience because the topping is separate from the baked foundation. The contrast between a chilled, sliceable bar and a freshly toasted marshmallow surface creates the signature finish.
Useful decisions for these bars come from recognizing when each component enters the process. The base needs time to set, while the topping benefits from brief high heat at the very end.
Serving Chocolate Marshmallow Dessert Bars With the Right Finish
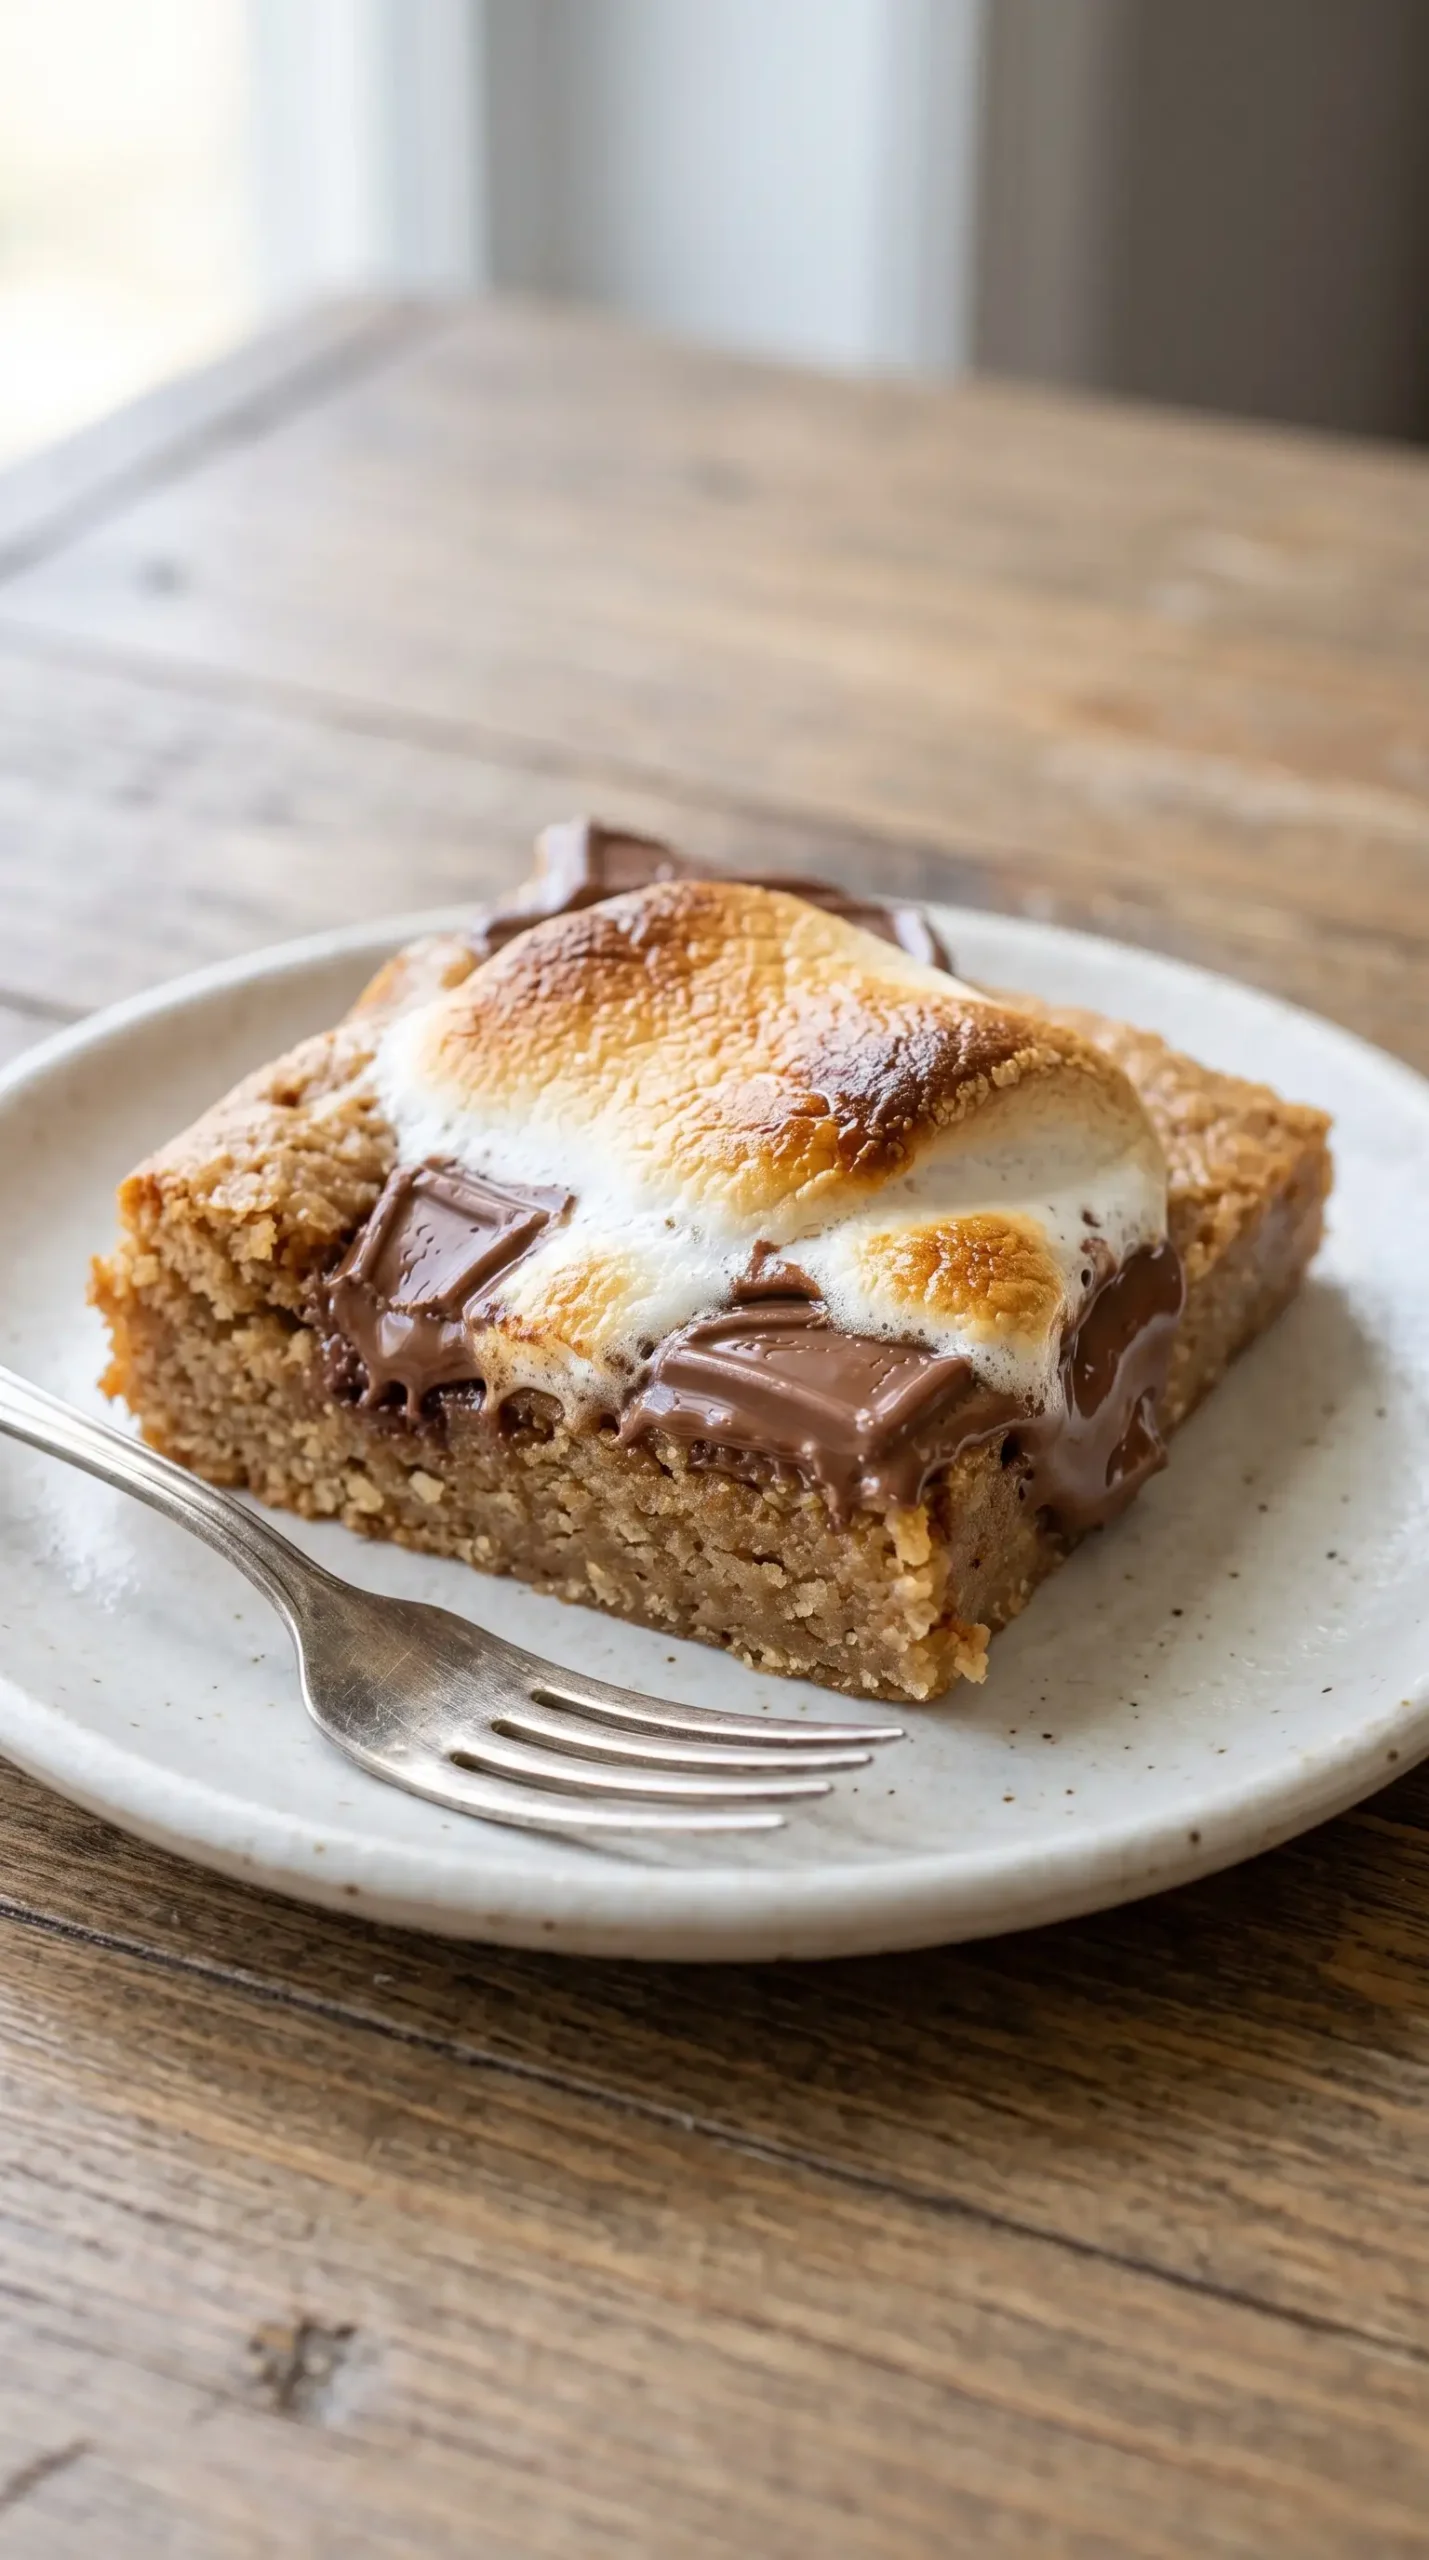
Serving chocolate marshmallow dessert bars works best when the topping is enjoyed after the marshmallows have reached a lightly golden stage. Cutting the chilled bars before broiling also makes the portions easier to manage during finishing.
Storage and Reheating Choices Protect the Graham Bar Texture
Storage decisions should account for the soft baked center and marshmallow topping. Keeping the bars chilled helps maintain their set texture, while gentle warming can soften the dessert when serving if desired.
Chocolate Marshmallow Graham Bars Deliver Contrast Through Simple Timing
Warm marshmallows and a chilled graham-style base create the defining contrast in these bars. The most important judgment is recognizing that the dessert depends on separate stages: baking creates the foundation, refrigeration stabilizes it, and broiling finishes the topping without changing the entire bar.
Careful timing keeps the chocolate marshmallow graham bars balanced. A tender center, toasted marshmallow surface, and chocolate finish come together when each step is handled with attention to texture instead of rushing from one stage to the next.
Chocolate Marshmallow Graham Bars Texture Questions and Answers
Why are my graham bars too soft after baking?
Soft bars can be expected before chilling because the center continues to firm as it cools. Allowing the baked layer to refrigerate gives the butter and structure time to settle before the topping is added.
Can I use only one type of flour for these bars?
The recipe uses both all-purpose flour and bread flour, and keeping both helps preserve the intended structure. Changing the flour combination may affect how the dough handles and how firmly the bars set.
How do I prevent marshmallows from burning?
Marshmallows need close attention during broiling because they toast quickly. Checking frequently and removing them once they are slightly golden helps avoid a scorched topping.
Why do the bars need chilling before adding chocolate and marshmallows?
Chilling creates a firmer base that is easier to cut and better able to support the topping. The cooler surface also keeps the finishing step focused on the marshmallows instead of softening the whole bar.
Can these bars be served without broiling the topping?
The bars can still be enjoyed without the final broiling step, but the toasted marshmallow finish is what creates the classic contrast between a soft topping and the baked graham layer underneath.
Chocolate Marshmallow Graham Bars with Chocolate Pieces
Ingredients
Method
- Preheat oven to 350 degrees F (177 degrees C) and lightly grease a 9×9 inch glass baking pan.
- Pulse the rolled oats in a food processor until they become a fine powder.
- Whisk the flours, oat powder, brown sugar, baking soda, salt, and cinnamon together in a large bowl.
- Cut the chilled butter into the dry mixture and work it in until the mixture has a coarse meal texture.
- Whisk together the milk, vanilla extract, and maple syrup in a small bowl. Add the liquid mixture to the dry ingredients and combine until just mixed. Knead briefly until the dough comes together, then handle with a floured surface, floured hands, or a sturdy spoon as needed because the dough will be sticky.
- Press the dough evenly into the prepared 9×9 inch glass baking pan.
- Bake for 15 to 20 minutes, until a toothpick inserted into the bar comes out clean while the center remains slightly soft.
- Refrigerate the baked bars for a few hours until the base firms and can be cut cleanly.
- Cut the chilled graham bars and place chocolate pieces and one marshmallow on each bar.
- Broil the topped bars on the high broil setting for about 3 minutes, checking frequently, until the marshmallows are lightly golden. Remove from the oven and enjoy.